Hardware Guide
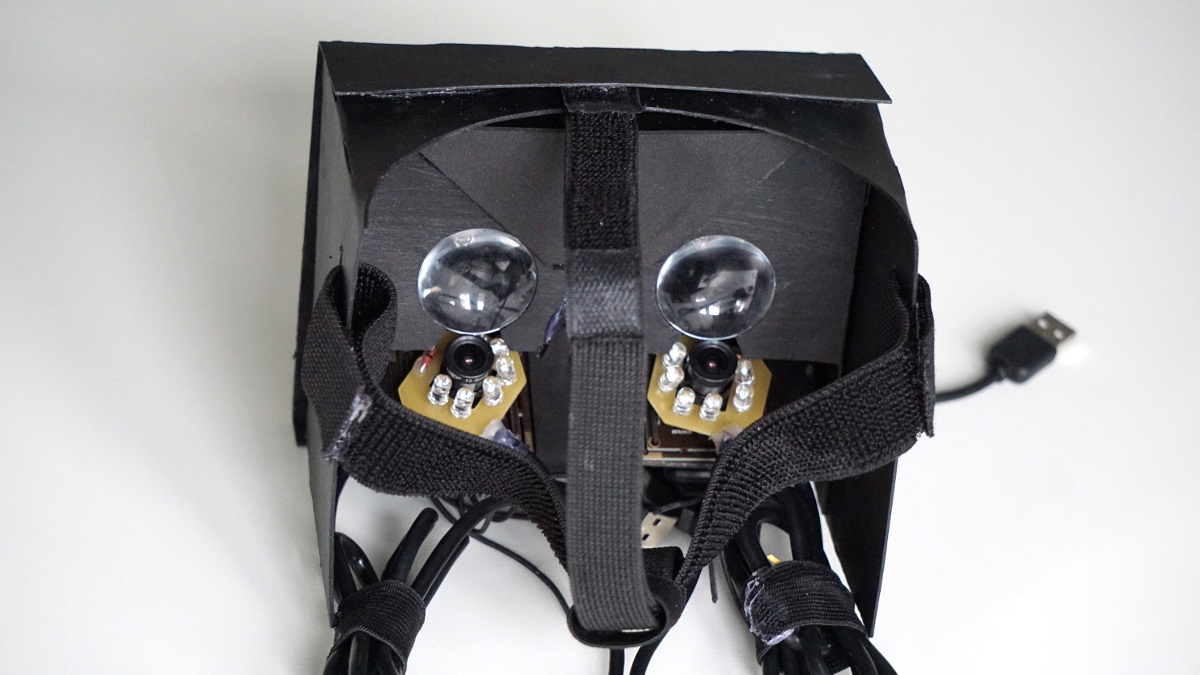
On this page, you can learn how to build our product. The main part of our product is a modified Google cardboard which is made of paperboard. It can be easily build with the help of our step-by-step tutorial.
Beside the cardboard, you will need a camera and a circuit board with infrared LEDs to light the eyes for the camera image. If you want to do binocular eye tracking, you will need two cameras and circuit boards. The circuit board can be etched or can be produced by a perforated grid board.
The following components are required for the circuit:
- grid board or etched board
- 6 IR-LEDs with a beam angle of 20 degrees and a wavelength of 850nm
- 13 ohm resistance
- micro USB-connector
- external power source by micro USB cable (approx. 30cm)
Note that the design of the etched board is made for a board-camera like the ELP 960P HD 1.3 MP. The hole in the middle fits the width of the camera’s objective. The USB port provides 5V power and 500mA current. It’s recommended to fix the MicroUSB Port on the circuit board additionally with hot glue. The circuit is a parallel circuit with three branches. Please refer to the circuit board schematic seen on figure 1. The circuit diagram and the files for the EDA-program Eagle as well as the cardboard template and the full guide are available at the download section. You can see the circuit boards without components on figure 2 and on figure 3 you can see the circuit boards with components.
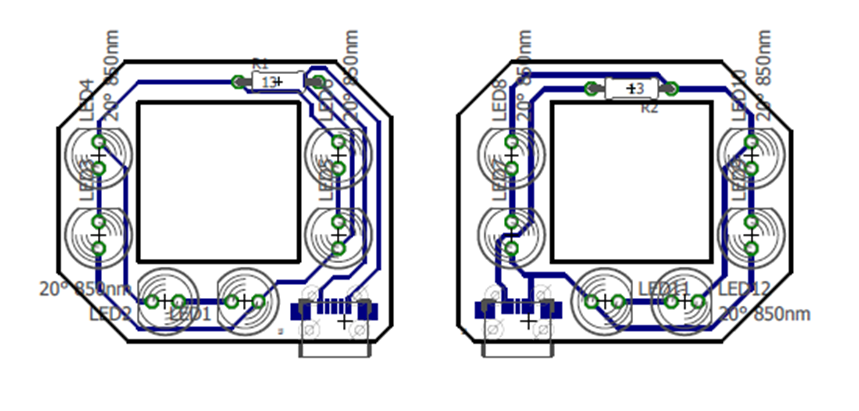
Figure 1: Schematic of the circuit boards
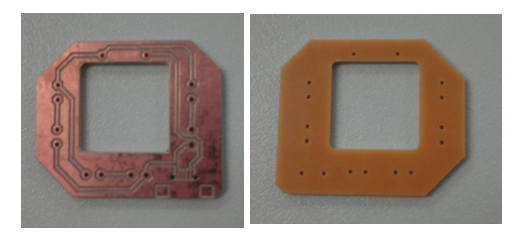
Figure 2: Left: bottom of the etched board, right: top of the etched board
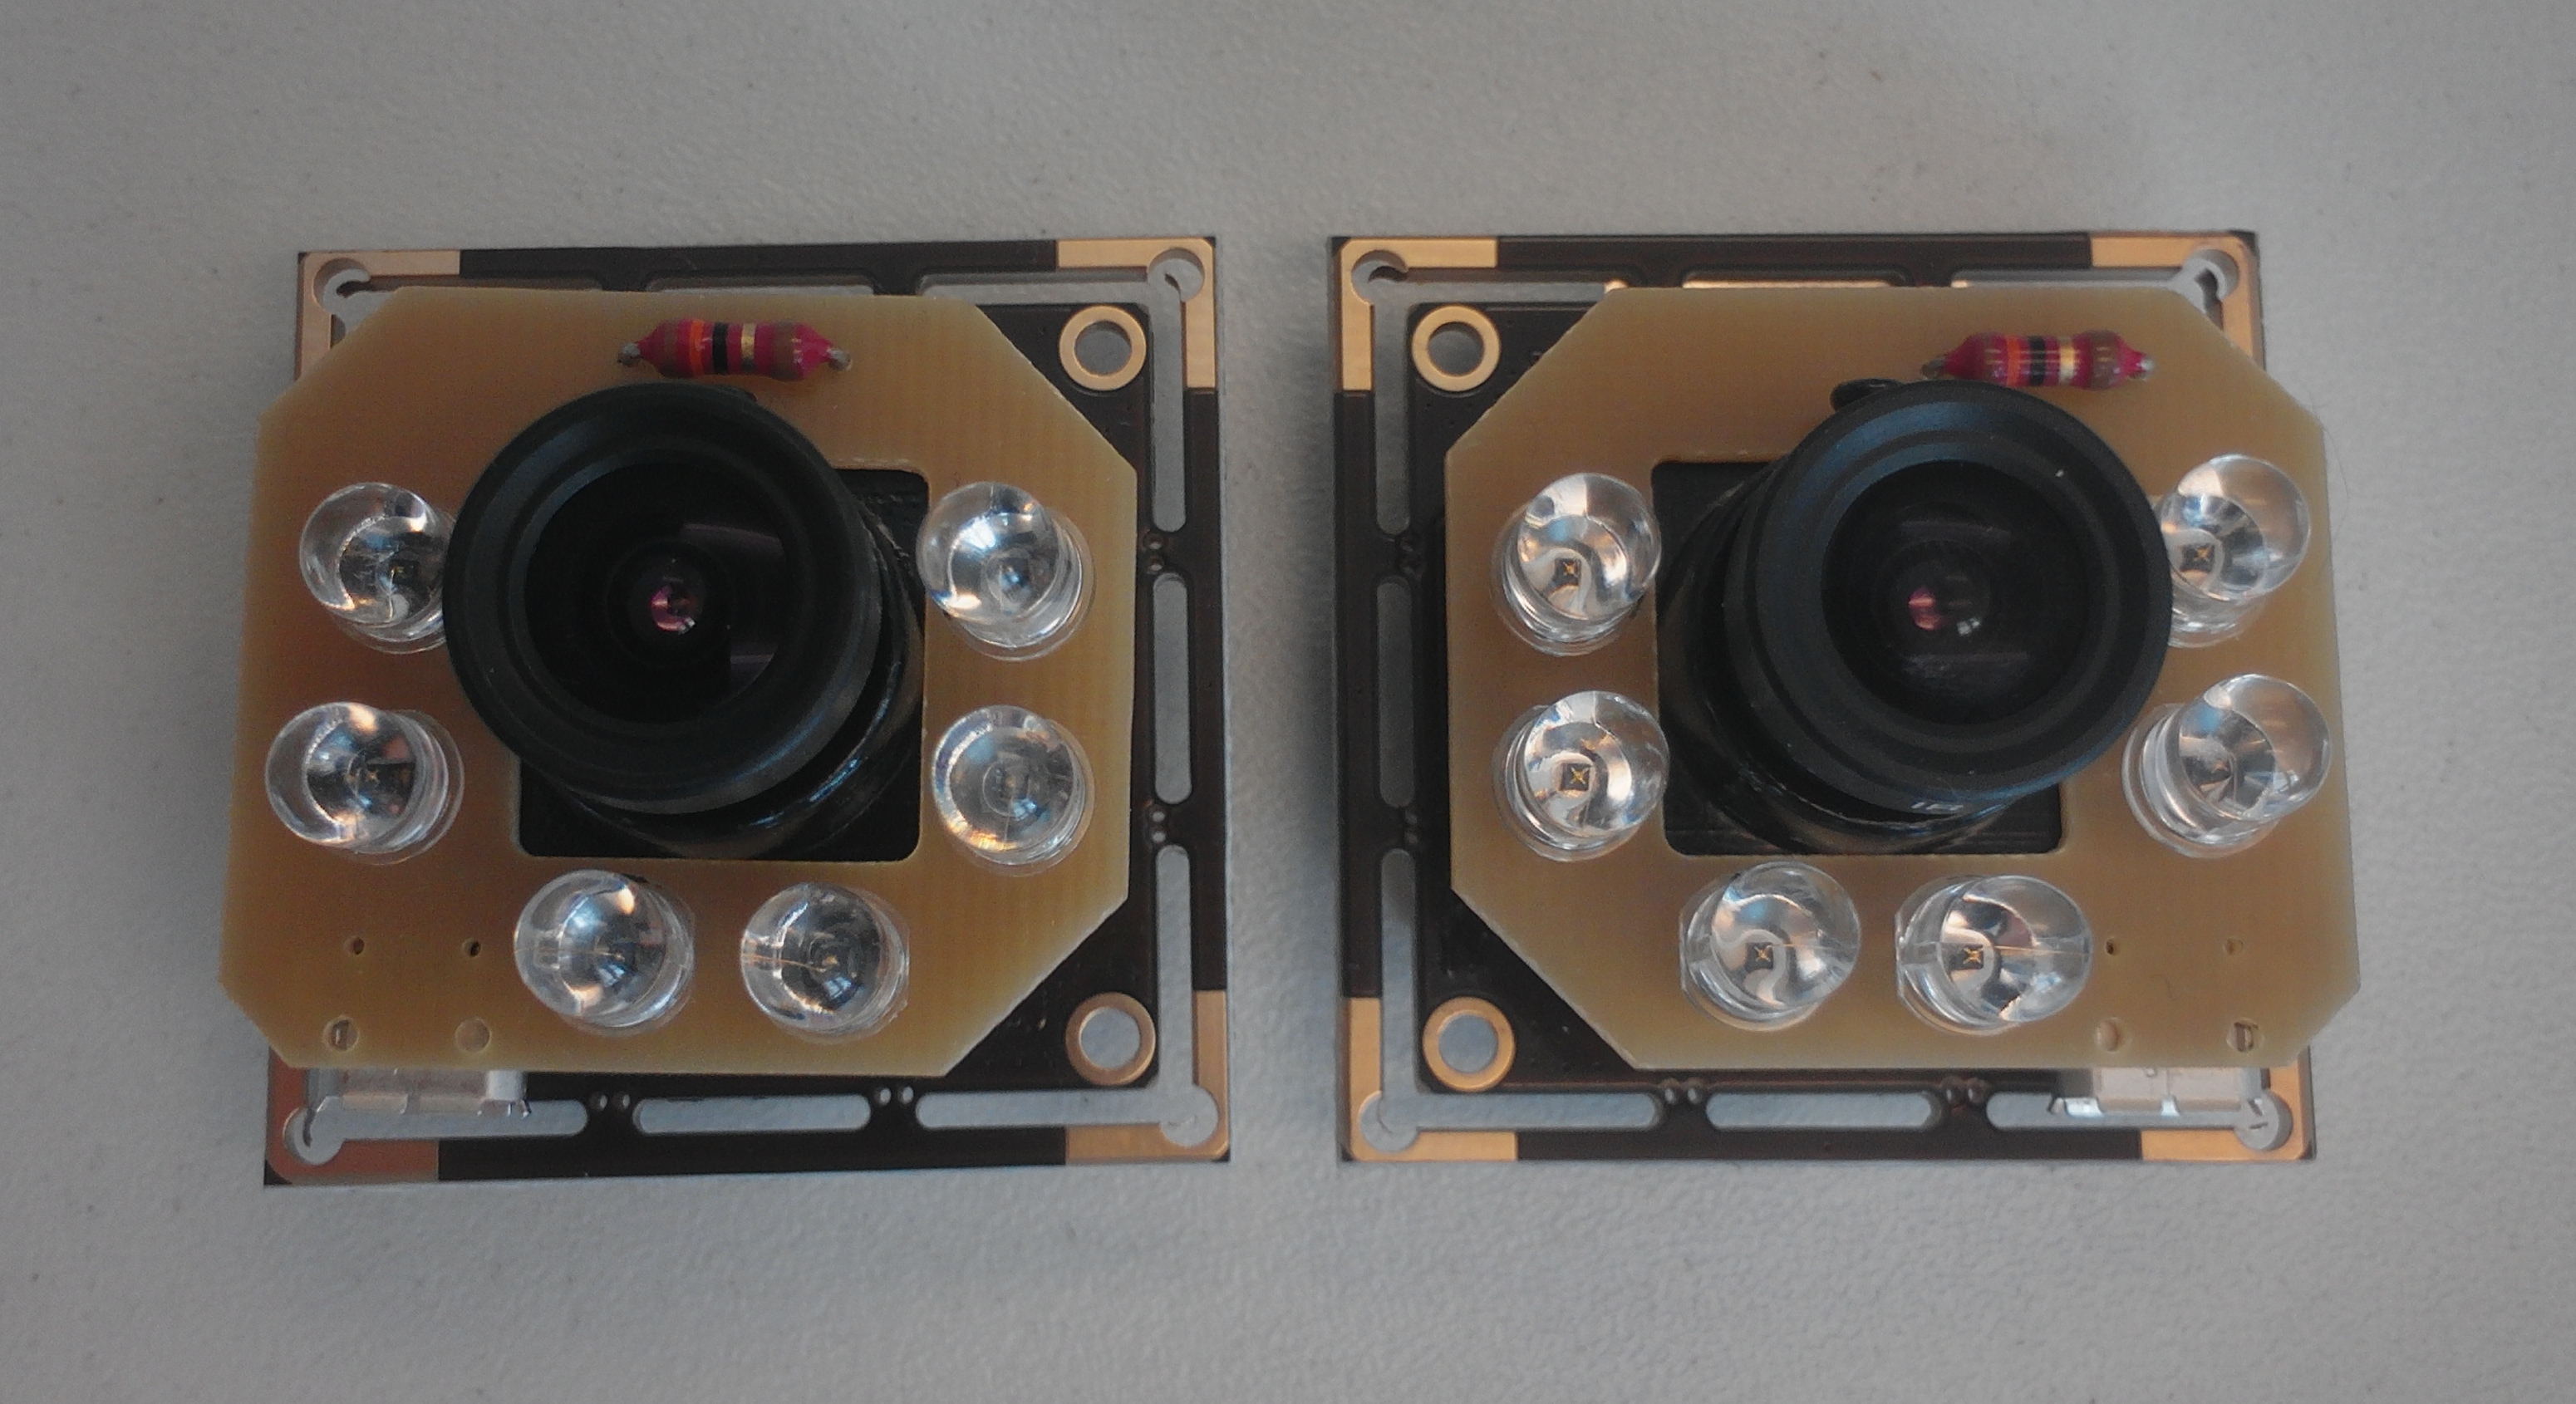
Figure 3: Equipped circuit boards on the USB cameras
Next you will need to cut the cardboard with a laser cutter.
First of all, you’ll need a suitable cardboard to cut out the template. The template is designed for laser cutters, but it’s possible to cut it out with a scissor. To cut our templates properly with the laser cutter you will need to follow those instructions:
- Use suitable cardboard for your laser cutter. Make sure that the cardboard does not have creases or dent. We are recommending a thickness of 1.0mm. Ideally, the cardboard has a thickness between 0.5mm and 1.0mm and is not coated. In addition, it should have a thickness of around 600g/m².
- The thickness of the lines within the template are 0.001inches. Certain parts of the original are engraved, they are thicker (0.01inches) than the rest of the original lines.
- In addition, ensure that the settings of your laser cutter have been adjusted properly in regard of thickness.
For the recommended thickness of 1.0mm the values for cutting should be around 30 speed, 80 power and 80 frequency. The values for engraving should be around 100 speed, 20 power and 20 frequency. Also ensure that you have set the order of the lines to be cut (from inside to outside). First the green lines are engraved, then the blue lines and finally the outer lines of the cardboard are being cut. For how to assembling the cardboard, please refer the step-by-step instruction in our tutorial section.